Enjoy discounts on fresh flower deliveries!
The Ultimate Guide to Giant Paper Flowers
Captivated by the stunning beauty of giant paper flowers? These breathtaking blossoms are more than just a craft; they're an affordable, wilting-free way to create a showstopping statement for any space. Learn how you can transform simple paper into a spectacular, magical decoration that never fades.
9/10/20257 min read
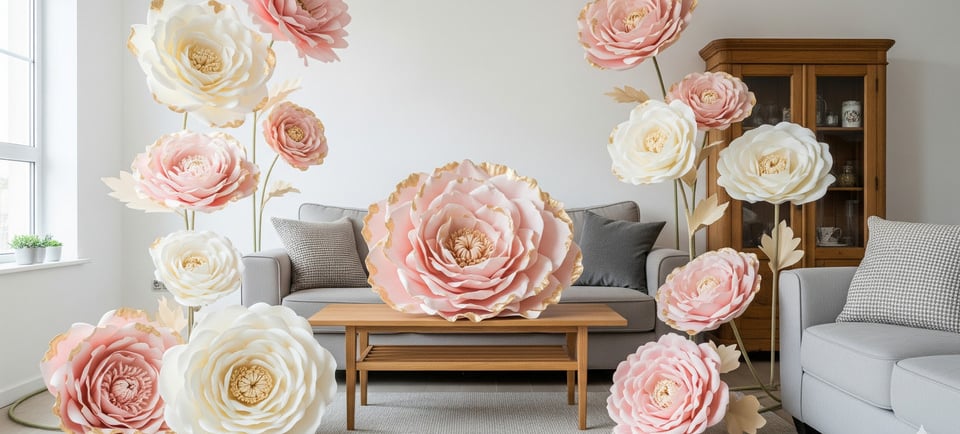
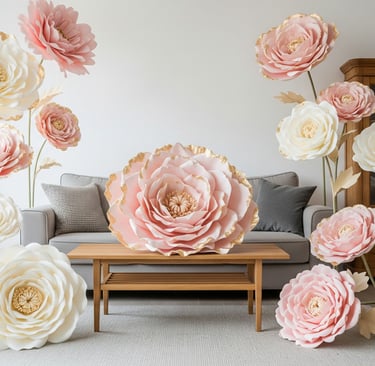
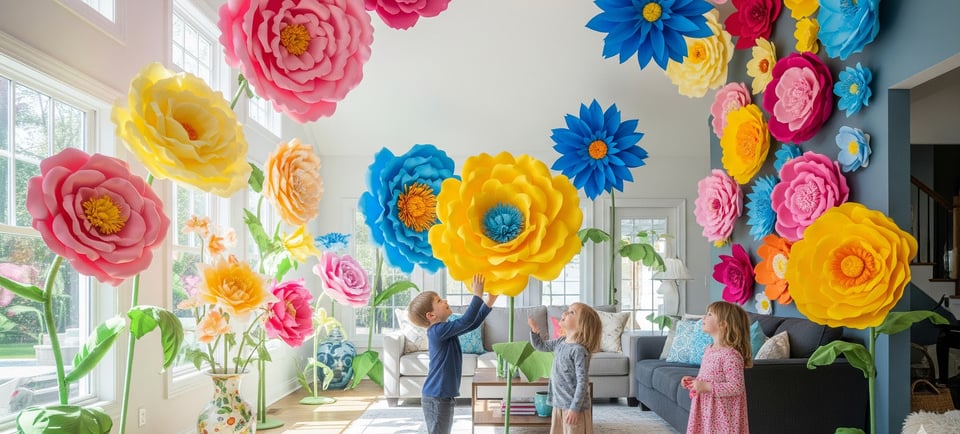
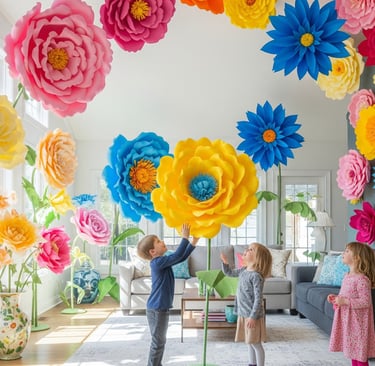
An ode to those breathtaking, larger-than-life paper blossoms that seem to have magically bloomed right out of a fairytale. Let's be honest, who hasn't scrolled through Pinterest and stopped dead in their tracks at the sight of a stunning flower wall or a solitary, oversized bloom standing tall in a vase? They just have this incredible way of making a statement, don't they? They’re like the ultimate floral fantasy, except they don’t wilt, they’re affordable, and you can absolutely make them yourself.
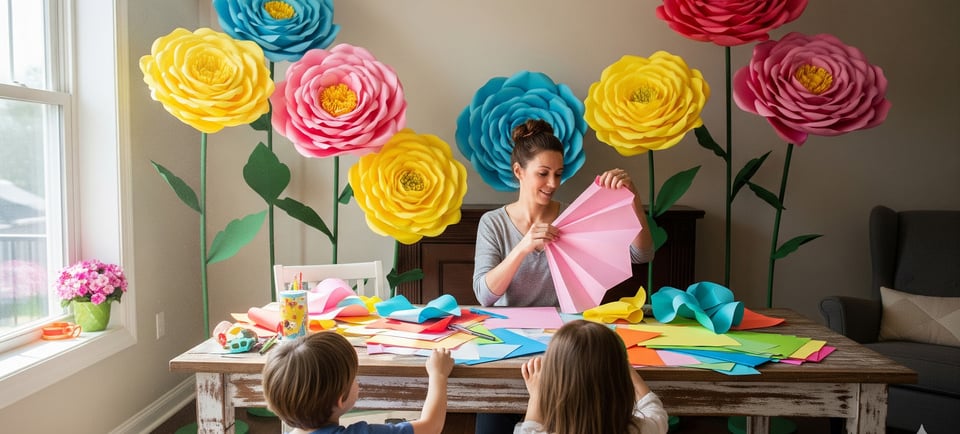
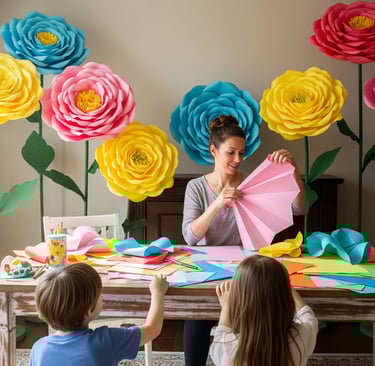
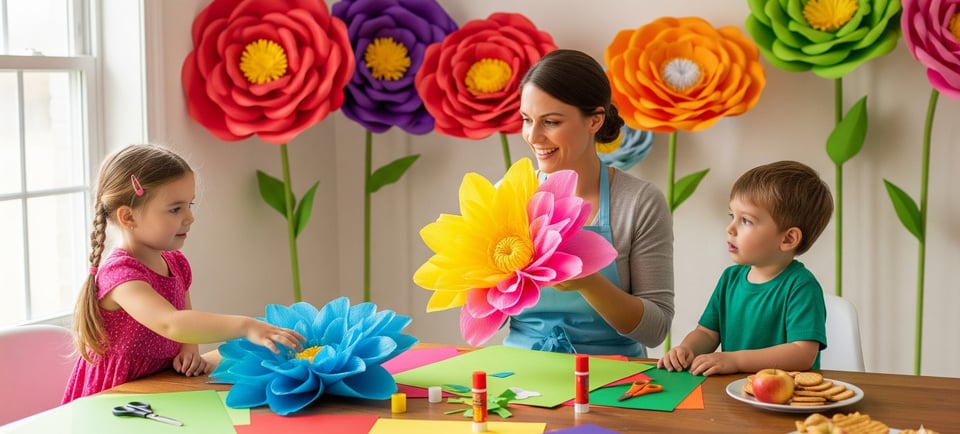
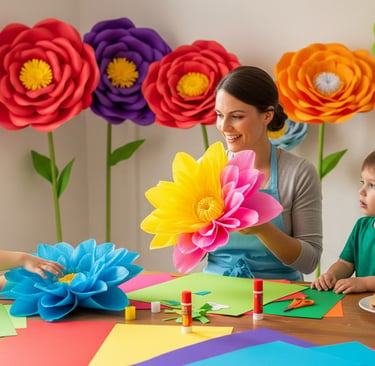
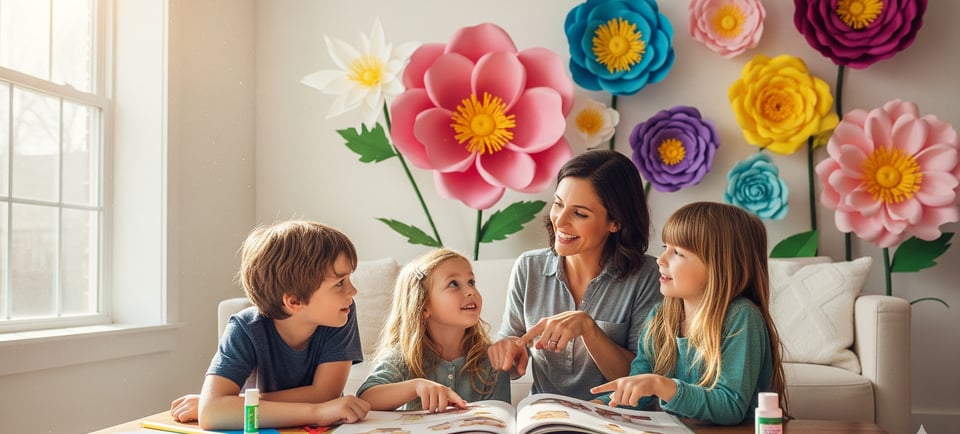
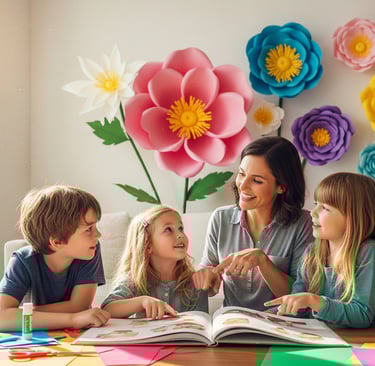
Honestly, when I first stumbled upon the world of giant paper flowers, I was a little skeptical. A 16-inch rose made out of paper? Sounds like a craft project for the super-skilled, right? But here’s the thing: it’s really not as daunting as it looks. It's actually a lot of fun, a little bit therapeutic, and the end result is so rewarding. Think of it less like a fussy, complex craft and more like a simple art form where you get to play with shapes, colors, and textures. You’re not just making a decoration; you're creating a moment—a showstopper for a wedding backdrop, a whimsical touch for a nursery, or just a little bit of beautiful chaos for a corner of your living room. It's about taking something simple, like a sheet of paper, and transforming it into something spectacular. It’s pretty magical, if you ask me.
Why on Earth Would You Make a Paper Flower? A Case for Everlasting Beauty
You might be thinking, "But I can just buy real flowers, right?" Sure, you can. And fresh flowers are lovely, no doubt. But have you considered the longevity? A real flower lasts, what, a week at best? Maybe two if you're a wizard with plant food. A paper flower, on the other hand, is forever. It’s a permanent fixture that never wilts, never needs water, and never, ever lets you down. It’s the perfect solution for long-term decorations, whether you're styling an event venue for months or just want to add a permanent floral flourish to your home.
Plus, let’s talk about a little thing called creativity. When you’re making these beauties, you get to be the artist. You pick the paper, the color, the shape of the petals—the whole shebang. You can create a giant paper dahlia in the most vivid scarlet for a birthday party, or a series of delicate, oversized white roses for a serene wedding photo backdrop. The control is completely in your hands. You get to experiment with different papers, too, from sturdy cardstock that holds its shape beautifully to the wonderful stretch and texture of Italian crepe paper. Each material has its own personality, and figuring out how to make it work for you is part of the fun.
Honestly, the DIY element is a huge part of the appeal. It's about bringing something uniquely you to your space or event. There’s a certain pride that comes with stepping back and saying, "I made that." It's a genuine conversation starter, too. People will be so intrigued, asking where you got those stunning flowers. You know what? That little moment of pride is totally worth the hot glue gun burns. (Don't worry, they’re minimal!)
Getting Started: What You’ll Need to Blossom
Ready to jump in? Excellent! This isn't a complex, tool-heavy endeavor. You probably have most of the basics already. Here’s a quick rundown of your essentials, but remember, you can always improvise.
Paper, obviously: This is where your creativity truly blooms. Sturdy cardstock (around 65 lb) is a fantastic starting point, especially if you're a beginner. For a more professional, realistic look, Italian crepe paper is the gold standard. It has a beautiful stretch that allows you to cup and shape petals, giving your flowers that gorgeous, organic look.
Scissors: Good, sharp ones are key. You'll be doing a lot of cutting, so a comfortable pair will be your best friend.
Hot Glue Gun and Sticks: Get a low-temp one to save your fingers, and have plenty of glue sticks on hand. Hot glue is what will hold your creation together, so don’t skimp.
Petal Templates: You can find these everywhere online, from free printable PDFs to SVG cut files for your Cricut or Silhouette machine. Using a template is a real game-changer; it ensures your petals are symmetrical and saves a ton of time.
A Shaping Tool: A broom handle, a thick dowel, or even a pen can work wonders for curling the edges of your petals to give them a natural look.
A sturdy base: For larger flowers, you’ll need something to glue your petals onto. A simple cardboard or foam circle works well. For freestanding flowers, a PVC pipe or wood dowel for the stem and a concrete-filled bucket or a plant tray for a stable base are great options.
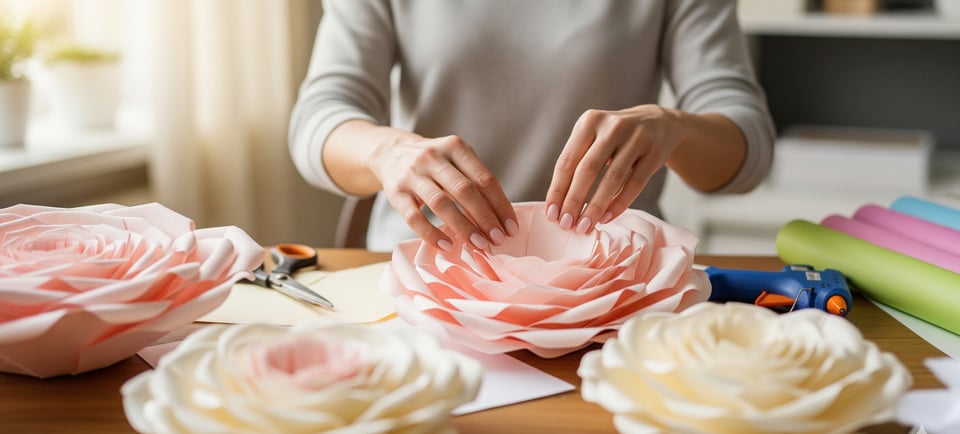
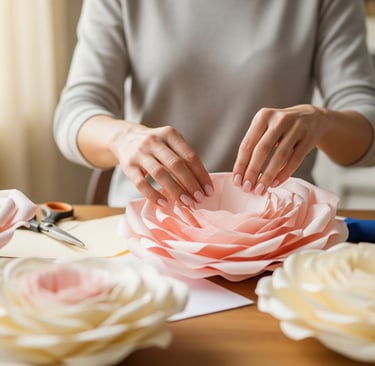
The Art of the Petal: A Casual Guide to Making Them Bloom
Okay, so you have your materials. What’s the next step? It's really all about the petals, isn't it? The magic happens when you turn a flat piece of paper into a three-dimensional form. Here’s a brief breakdown of the process:
Cut Your Petals: Use your templates to trace and cut out your petals. For a big flower, you'll need lots of them in various sizes, from largest to smallest.
Give them Life: This is the fun part. Gently stretch and cup the paper. If you're using crepe paper, this is where it really shines. Stretch the center of each petal outward to create a beautiful, cupped shape. With cardstock, use your shaping tool to gently curl the edges.
Create the Core: Start with your smallest petals, arranging them in a tight circle to form the center of the flower. This is the bud. Glue them onto your base.
Layer and Build: Now, just start layering your larger petals around the core, overlapping them as you go. Remember to offset each new layer so the petals fill in the gaps from the layer before. It's like building a masterpiece, petal by petal. Don't be afraid to pull, fluff, and manipulate the petals as you go to make the flower look as full and airy as possible.
Add the Finishing Touches: Once all your petals are glued on, you can add a center—a rolled fringe of yellow paper, for example, for a little pop of color. And of course, a few leaves on the stem will really sell the illusion.
Honestly, the most important tip I can give you is to embrace the imperfections. Nature isn’t perfect, and neither is paper. A slightly ruffled edge or a petal that's a little bit off-center can actually make your flower look more authentic and organic. Let the process be a little messy and spontaneous.
FAQs on Giant Paper Flowers
How do I make my giant paper flowers stand up on their own?
For freestanding flowers, you can use a PVC pipe or a thick dowel for the stem. To make it stable, secure the stem in a bucket or a plant tray filled with quick-dry cement or concrete. This gives it a heavy, sturdy base so it won't topple over. Once the cement is dry, you can wrap the "stem" with green crepe paper or even green duct tape to give it a realistic look.
What's the best paper to use: cardstock or crepe paper?
It really depends on the look you're going for! Cardstock is a great choice for beginners. It's sturdy, holds its shape well, and is easy to work with. Crepe paper, particularly the Italian variety, is more flexible and stretchy, allowing you to create more realistic, organic-looking petals. The choice is yours, but if you want to get into the nitty-gritty of shaping, crepe paper is the way to go.
Can I use these for my wedding?
Absolutely! Giant paper flowers are a fantastic and cost-effective alternative to real flowers for weddings and events. They make stunning backdrops for photos, can be used to line an aisle, or even as unique table centerpieces. Since they never wilt, you can make them weeks or even months in advance, which takes a huge amount of stress off the planning process.
Do they need a lot of maintenance?
Not at all! Unlike real flowers, they don't need water or sunlight. They might collect a little dust over time, but a gentle dusting with a soft cloth or a quick blast from a hairdryer on a cool, low setting will keep them looking fresh and vibrant.
Finding Your Inner Artist
Honestly, making these flowers isn't just about the final product; it's about the journey. It's about finding a moment to get lost in a craft, to create something beautiful with your own two hands. It's a fantastic way to unwind, and hey, you end up with a stunning piece of art that you can show off for years to come. Think of it as a creative escape—a chance to get away from the hustle and bustle and just... make something pretty. Whether you’re crafting a beautiful rose for your home or an entire floral wall for a special event, the process is what truly matters. It’s an easy, joyful, and surprisingly addictive pursuit that proves you don’t need a green thumb to make something truly bloom.
Delivery
Your trusted partner for flower delivery worldwide.
Service
Quality
For Fast Response
Please contact by email
© 2024. All rights reserved.