Enjoy discounts on fresh flower deliveries!
The Sweetest Surprise: Who Knew You Could Turn Pine Cones into Flowers?
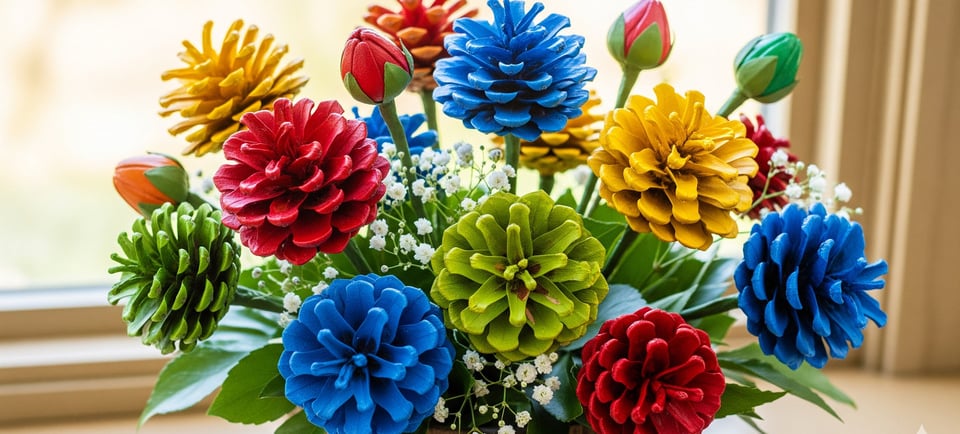
Finding a zinnia’s bright petals on a pine cone is like discovering a hidden treasure in nature. This simple DIY craft transforms ordinary pine cones into beautiful, everlasting flowers that add charm to any space. It’s a game-changer for anyone who loves flowers, offering a perfect, no-fuss bouquet that never wilts.
9/10/20255 min read
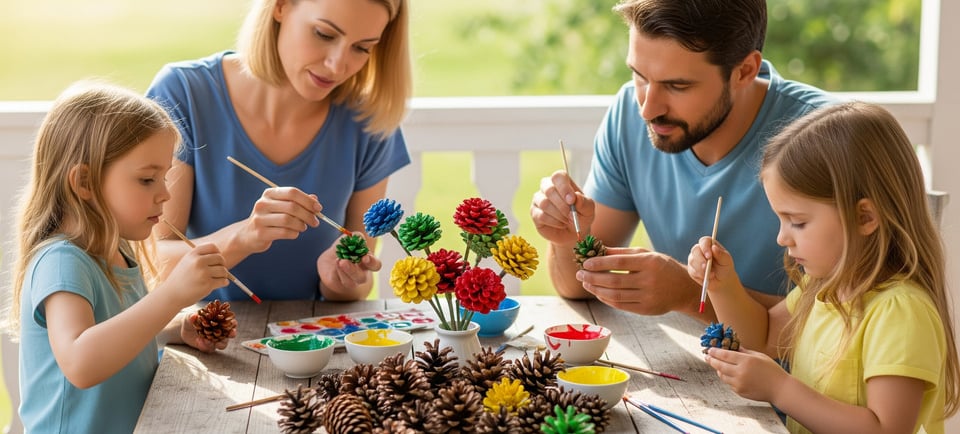
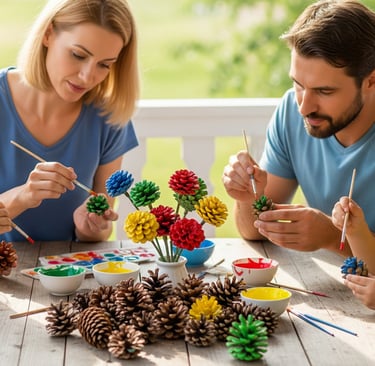
You know that feeling when you stumble upon something so simple, so unexpectedly beautiful, that it just stops you in your tracks? It’s like finding a perfectly shaped heart-rock on the beach or a four-leaf clover hidden in a patch of grass. Well, let me tell you, there's a different kind of natural treasure hunt out there, and the prize is an everlasting bouquet.
Honestly, it seems a little wild, right? We see pine cones every day, kicked around on trails or piled up under a big, old pine tree. They’re these rustic, woody things, full of nooks and crannies. But what if I told you that the secret to a zinnia’s bright, layered petals was hiding on the bottom of a common pine cone? That a little bit of paint could turn an ordinary piece of nature into a whimsical bloom that never wilts? It’s true, and once you see it, you'll never look at a pine cone the same way again. This simple DIY pine cone craft is an absolute game-changer for anyone who loves flowers, sending flowers, or just adding a little more charm to their space without the hassle of a green thumb.
Finding the Magic in Your Garden (or Local Park)
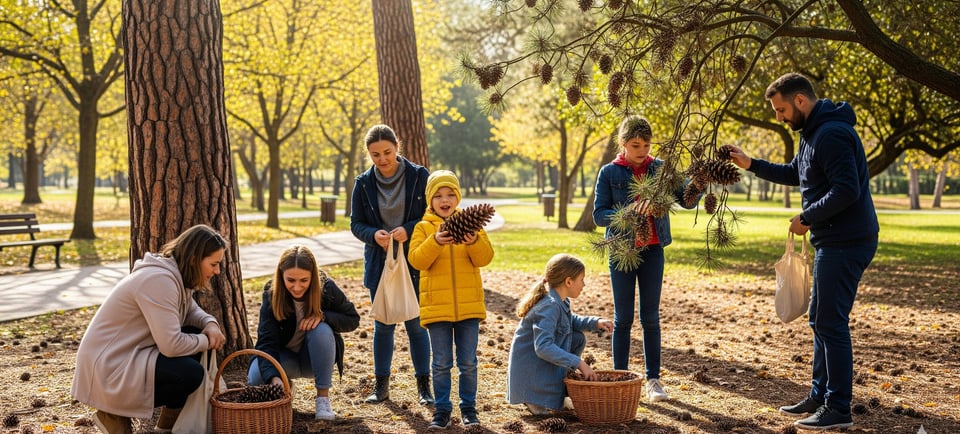
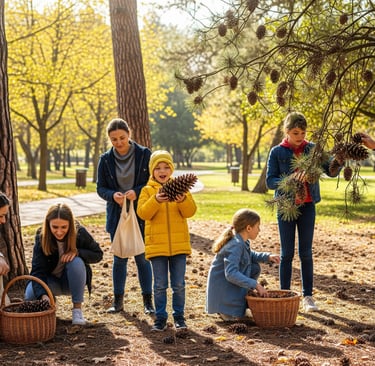
Before you can work your magic, you've got to find your raw materials. The best part? They're everywhere! Just take a walk and collect a variety of pine cones. You'll want to look for ones with a nice, flat bottom—that's where our zinnia-inspired petals are waiting.
Now, a quick heads-up: nature comes with its own little surprises. Pine cones can have all sorts of tiny hitchhikers living in them, so it's a good idea to prepare them first. A common trick is to pop them on a baking sheet and bake them in your oven at a low temperature (around 200°F or 95°C) for about 30 to 60 minutes. This will dry them out, make them open up a bit, and send any little critters on their way. Plus, it makes your whole house smell wonderfully woodsy and festive. Once they're baked and cooled, you've got a perfectly prepped canvas.
So, what else do you need for this simple-but-spectacular DIY project?
Pine cones: Your main character!
Acrylic craft paint: This is where you get to play with color. Think about the vibrant shades of real zinnias: cheerful pinks, sunshine yellows, fiery oranges, and deep reds.
Paintbrushes: A medium-sized brush works best for globbing the paint on, but a smaller one is handy for adding details.
Tin snips or heavy-duty clippers (optional): Some people prefer to trim the top of the pine cone to make the flower bottom stand out more. It's not a must, but it gives a cleaner, more manicured look.
Hot glue gun: For attaching stems or creating arrangements.
Wooden dowels or floral wire: If you want to make a bouquet of flowers with stems.
Pine Cones into Flowers: A Simple Step-by-Step Guide
Here's the thing: this isn't some super technical, I-need-a-degree-in-art-to-do-this kind of project. It’s a lot more like a happy accident waiting to happen. The first step is truly the most crucial and the most fun.
Prep Your Palette: Get your paints ready. You might want to start with a white base coat on the bottom of the pine cone to make your colors really pop, but that's totally up to you.
Paint the Petals: Turn the pine cone over so you're looking at the flat, bottom side. Take your brush, glob on some paint, and just start applying it to that circular base. You'll instantly see the pine cone's unique pattern of scales transform into the delicate, overlapping petals of a zinnia. It's a genuinely cool moment. Don't be shy about adding a second or third layer of color to give it depth and character.
Add the Stamen (The Center): Once the main color is dry, you can use a small brush and a contrasting color, like yellow, to paint a little dot in the center of the pine cone. This creates the stamen, that little burst of color that makes a zinnia a zinnia.
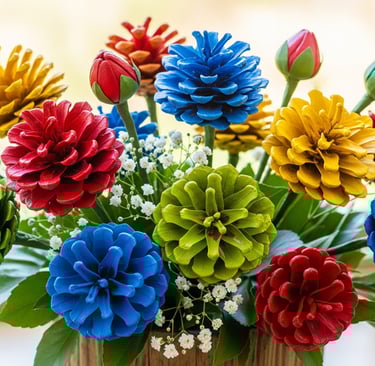
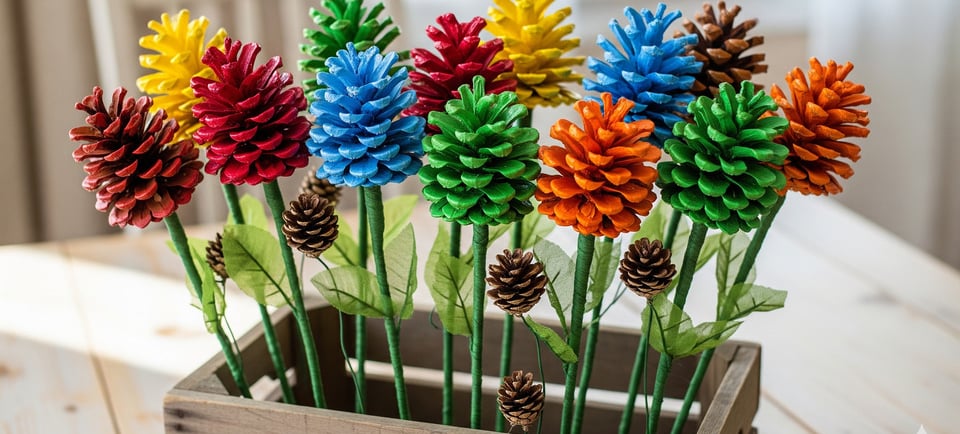
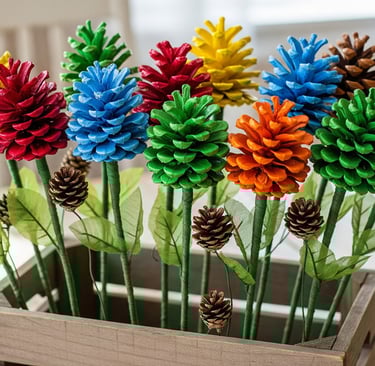
Embellish and Display: The beauty of this craft is that the options are endless. You can leave the flowers as they are and arrange them in a rustic basket, use them to adorn a wreath, or create a stunning bouquet. To make a bouquet, simply hot glue a wooden dowel or floral wire to the back of the pine cone.
See? It’s really that simple. It’s a wonderfully therapeutic process, a chance to get a little messy and let your creativity flow.


FAQs on Turning Pine Cones into Flowers
Q: Can I use different types of pine cones?
A: Absolutely! The beauty of this craft is that different pine cones—long, squatty, round—will yield different types of flowers, from zinnias and daisies to roses and more. Experiment and see what you can create!
Q: Do I really need to bake the pine cones?
A: It's highly recommended! The heat gets rid of any bugs, melts away sticky sap, and ensures the cones are fully dry and ready to hold paint. If you skip this step, you might end up with sap on your hands or your beautiful flowers.
Q: What if I don't have a hot glue gun?
A: No problem. While a hot glue gun is great for a quick and secure bond, you can also use other strong craft glues like E6000 or even wood glue, just be sure to let them dry completely. You can also simply arrange the painted cones in a bowl or centerpiece without attaching stems.
Q: How do I protect my pine cone flowers if I want to display them outside?
A: Great question! To make your flowers weather-resistant, consider using spray paint that's meant for outdoor use or giving them a light spray with a clear, protective polyurethane sealant after the paint has dried. This will help protect the colors from fading and the pine cones from moisture.
Beyond the Bloom: Making Your Pine Cone Flowers Last
Making these pine cone flowers is a wonderfully satisfying experience, but what's next? This is where your inner stylist comes out. Think about how you’ll use your beautiful, faux flowers. Maybe you'll create a striking centerpiece for your dining room table, arranging them in a rustic vase or a wooden bowl. Or, you could glue them to a wreath form to create a welcoming, nature-inspired door hanging. They make a thoughtful, handmade gift for someone special—a bouquet that will last for years to come.
As the seasons change, so too can your pine cone flowers. Paint them in bright, bold colors for a summer centerpiece, or in rich reds, golds, and browns for a fall display. When the holidays roll around, they're perfect for festive wreaths and garlands when painted with metallic golds, silvers, and snowy whites.
In the end, this project is a beautiful reminder that creativity is all around us, often hiding in plain sight. It's about seeing the world with a fresh perspective and taking the time to create something lovely with your own two hands. So, go on, gather some pine cones, grab some paint, and make your own everlasting garden.
Delivery
Your trusted partner for flower delivery worldwide.
Service
Quality
For Fast Response
Please contact by email
© 2024. All rights reserved.