Enjoy discounts on fresh flower deliveries!
The Surprising Secret to Painting Hydrangeas? It’s All in the Q-Tips.
Discover a magical way to paint stunning hydrangeas using just a handful of Q-tips instead of a brush. This simple, therapeutic technique focuses on texture and layering, allowing you to create a beautiful, vibrant bouquet without needing any fancy art skills. It's the perfect project for a lazy afternoon, proving that creativity can turn an everyday item into a powerful artistic tool.
9/10/20254 min read
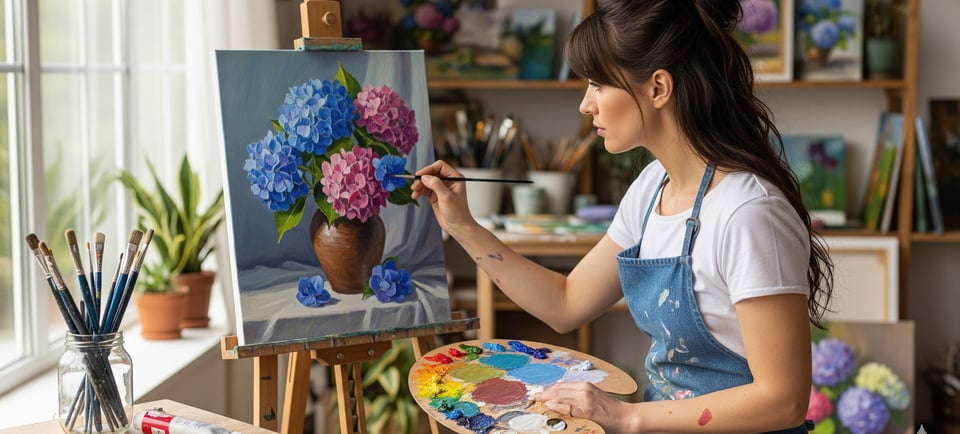
You know what’s truly magical? The way a simple, everyday item can be turned into a powerful artistic tool. We've all seen those stunning, full-bloom hydrangea paintings—so often, we think they're beyond us, requiring a masterful brushstroke and a certain kind of… well, professional touch. But here’s a little secret: you don't need fancy art school skills or a studio full of expensive brushes. All you need is a handful of humble Q-tips and a dash of creative curiosity.
Honestly, painting hydrangeas with cotton swabs is one of the most delightfully therapeutic art projects you can try. It’s an exercise in spontaneity and letting go of perfection. Forget about trying to perfectly replicate every single tiny petal. This technique is all about texture, layering, and capturing the lush, rounded form of a hydrangea bloom in a way that feels organic and full of life. It’s a perfect fit for a lazy Sunday afternoon, a creative moment with a child, or just a little "me time" when you need to unwind and let your mind wander.
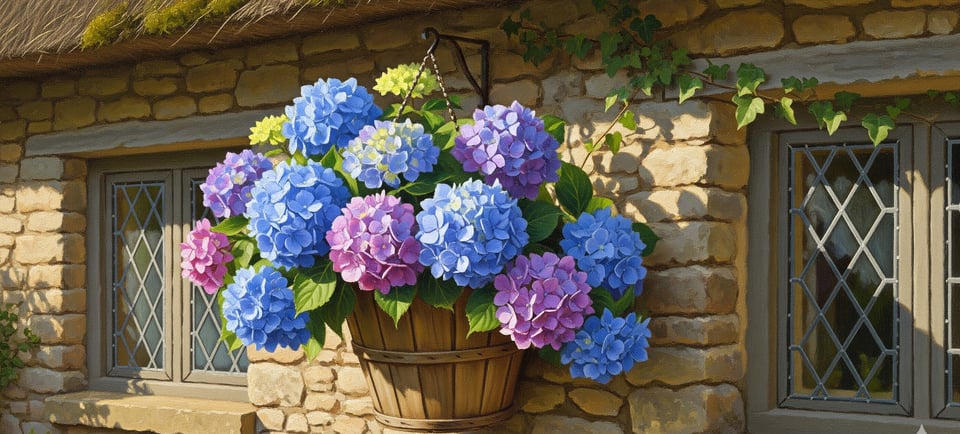
Let me explain. The beauty of a hydrangea is in its clustered, almost cloud-like shape. Traditional painting with a brush can sometimes make the process feel stiff, but a bundle of cotton swabs lets you literally dot your way to a stunning, textured bloom. The end result is a vibrant bouquet that looks incredibly complex but is, in fact, surprisingly easy to create.
Little Artistic Arsenal: Gathering Your Materials
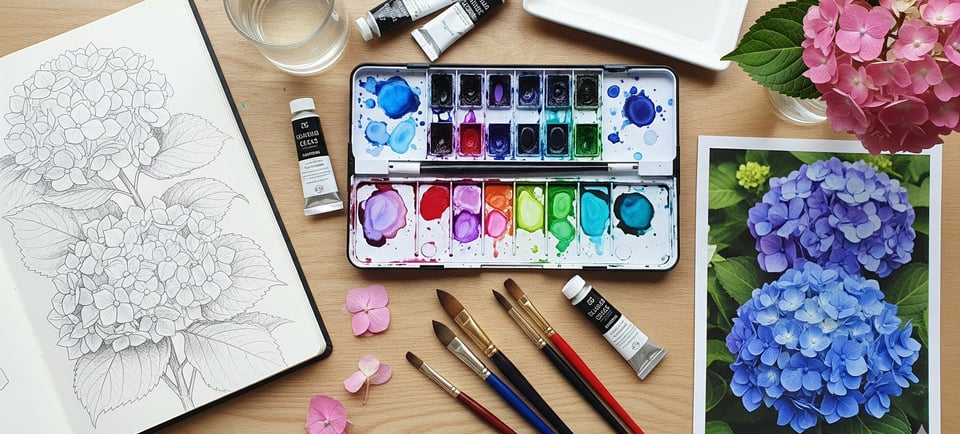
Before we get our hands (or, in this case, our Q-tips) a little messy, let's get our supplies together. It's a quick trip, I promise.
A Canvas or Thick Paper: A small stretched canvas or a sturdy piece of cardstock works perfectly.
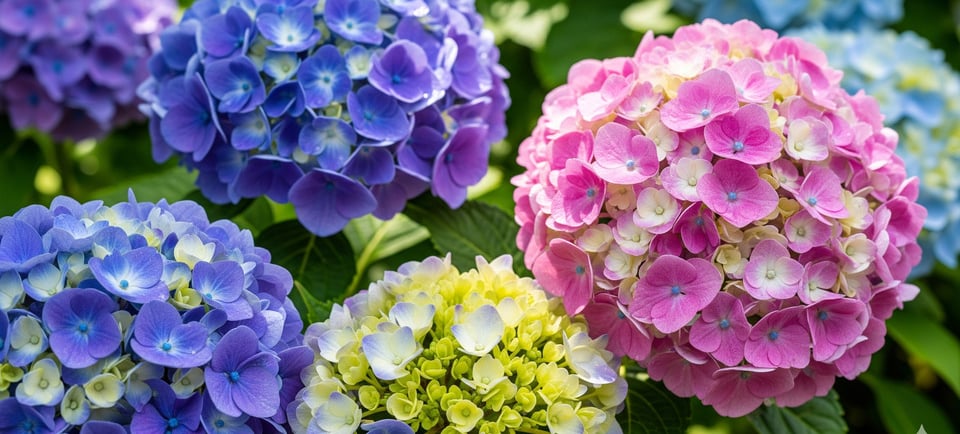
Acrylic Craft Paints: Choose a few colors for your blooms. Hydrangeas come in gorgeous shades of blue, pink, purple, and white. Grab a dark shade, a medium shade, and a pure white. You'll also want some green for the leaves and stems.
A Bunch of Q-Tips: You’ll need a few handfuls, so make sure you have a box ready.
A Rubber Band: This is the key to holding your cotton swabs in a tight, dab-friendly bunch.
A Palette: A paper plate or a piece of cardboard is an easy, no-fuss palette.
A Thin Paintbrush: Just one! This is for the stems, leaves, and maybe a vase.
A Pencil: For sketching out your flower placement.
The Step-by-Step Scoop: From Dots to Blooms
This is the fun part! Let's get down to business.
Step 1: The Blueprint
First things first, lightly sketch the big, round shape of your hydrangea blooms and a few leaves on your canvas. Don’t get too particular here—they're supposed to be organic and flowy.
Step 2: The Base Color
Take your largest, tightest bundle of Q-tips. Dip it into your lightest paint color. Now, here's where the magic begins: start stamping or dabbing the paint onto your canvas, filling in the round hydrangea shape you sketched. This will create a textured, pointillism-style base.
Step 3: Adding Depth and Dimension
Once the first layer is mostly dry, take a slightly darker shade of paint. Use a smaller Q-tip bunch to dab on a second layer, focusing on the bottom half of the bloom. You’re essentially creating shadows to give the flowers dimension. Layering is key here—it’s what makes your art feel so dynamic.
Step 4: The Highlights
Grab a clean single Q-tip and dip it in a tiny bit of pure white paint. Dab it sparingly on the top-most part of your flower, where the light would naturally hit it. These little bright white dots will make your petals pop and your flowers feel truly alive.
Step 5: Bringing in the Greenery
Now it's time for the leaves and stems. Using your paintbrush, create some beautiful, whimsical leaves at the base of your hydrangeas. Don't feel like they have to be perfect! Mix a few different shades of green to add more visual interest.
And just like that, you've created a beautiful piece of floral art. The best part? The process itself is as rewarding as the final result.
FAQs About Painting Hydrangeas
Can a total beginner really do this? Absolutely! This technique is perfect for anyone, regardless of their artistic background. It’s forgiving and focuses more on the process of creating texture rather than precise lines.
What kind of paint is best? Acrylic paint is your best bet for this project. It's vibrant, opaque, and dries relatively quickly, which is great for layering.
Do I have to use a bunch of Q-tips? You can certainly use a single Q-tip to create individual four-petal flowers, but using a bunch of them together is what gives you that dense, lush texture that’s so characteristic of a hydrangea.
How do I clean my Q-tips? You don’t! Just use a new one for each color or shade. This is a one-time use kind of art tool, which is part of its simple charm.

Painting Hydrangeas: Art is for Everyone
At the end of the day, this simple Q-tip painting technique is proof that anyone can be an artist. It's not about expensive tools or a flawless hand. It's about finding joy in the process, experimenting with new techniques, and creating something beautiful with what you have. Whether you decide to hang your finished DIY floral art on the wall or give it as a heartfelt gift, you’ll have the satisfaction of knowing you created it with your own hands—and a bunch of cotton swabs, of course.
Delivery
Your trusted partner for flower delivery worldwide.
Service
Quality
For Fast Response
Please contact by email
© 2024. All rights reserved.